

So without more ado, here is the tute:
Amy's summer romper
This little playsuit is designed for the crawling age,6-12 months, with no snaps or buttons.
The romper ties at the shoulders for a cute vintage look . The bias tape finish makes it very easy to sew. And guess what? It only takes half yard of fabric!
 Requirements:
half yard of a cute lightweight fabric (44’’wide)
two yards of matching or contrasting bias tape.
(option 2) ½ yard of ¼” elastic for legs
(option 3) Contrasting material for ruffles at leg
(option 4) half yard snap tape.
Instructions:
Step 1: Draw the pattern. The darkblue line shows stitching lines, the thinner light blue lines show cutting lines. As you can see, I gave ½ inch seam allowance.
The easy instructions are as follows:
1. cut out the pattern pieces,
(on the fold or cut 2 each.)
(on the fold or cut 2 each.)
2. sew the middles together.
3. sew the sides.
4. finish the legs.,
5.sew the crotch seam.
5.sew the crotch seam.
6. gather and bias tape the neckline.
7.gather the armscyce, then finish the edge with bias tape, leaving enough to tie at the shoulders.
DONE!

DONE!

for those who need more detail, I have uploaded the full detailed step-by-step instructions with photos at burdastyle here for the BLUE romper and here for the LILAC romper.
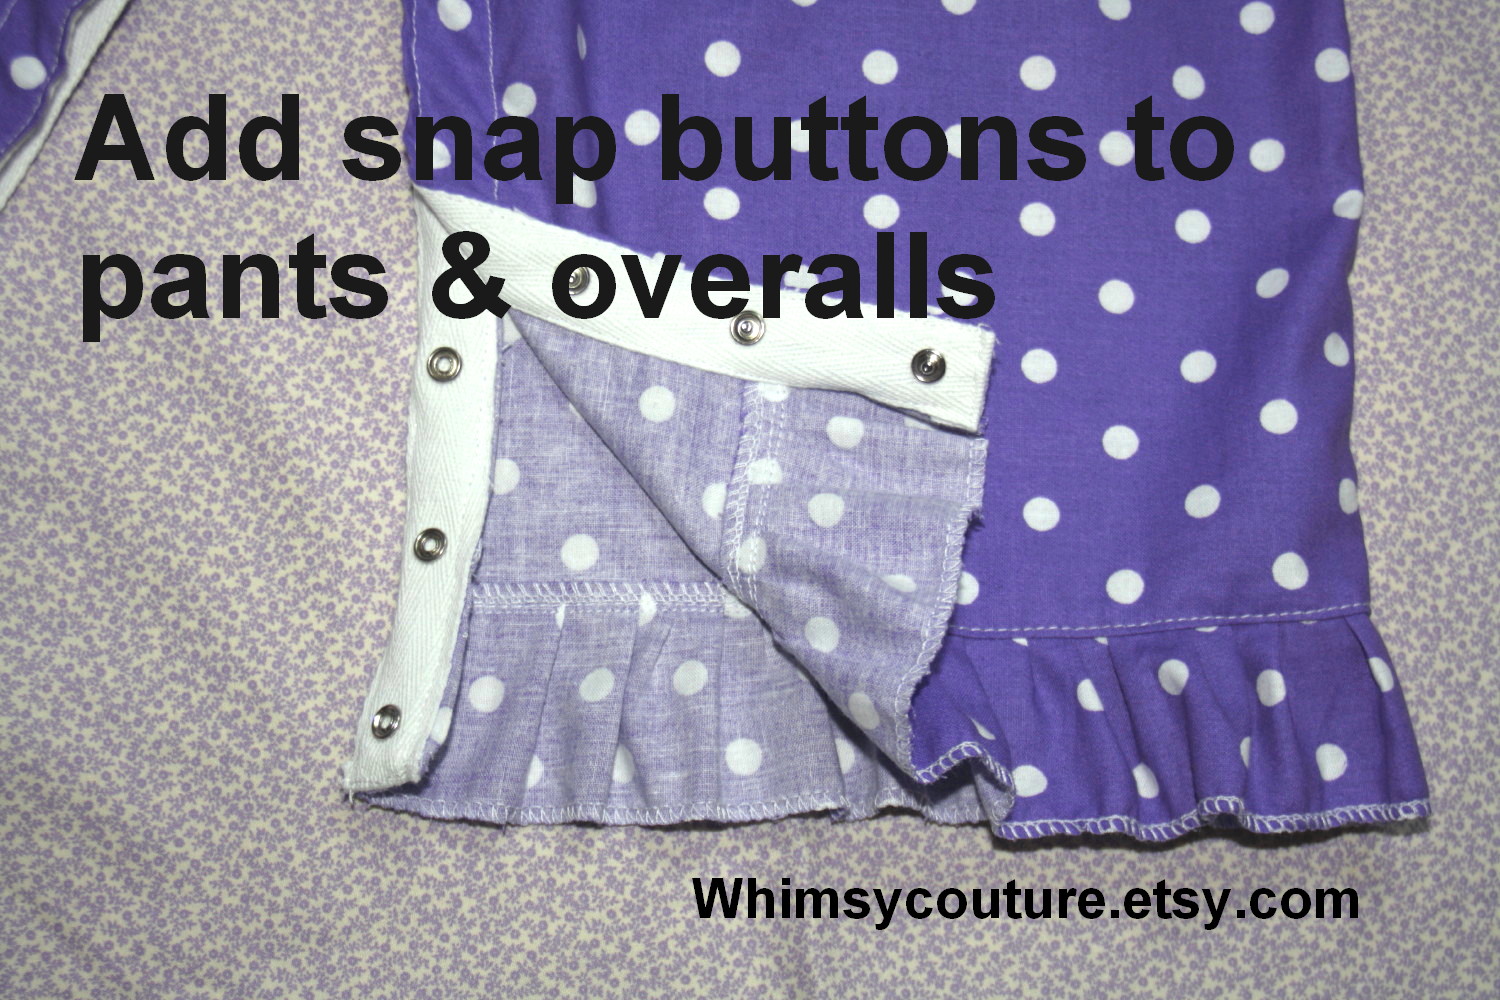
 Edited to add: whimsycouture has a very easy tutorial for adding snap tape at the crotch seam, so you can unsnap the romper for diaper changing. you can get the free tutorial pdf here.
Further Edited.. Slightly bigger pattern for chubbier babies.. see this post
 Edited to add: whimsycouture has a very easy tutorial for adding snap tape at the crotch seam, so you can unsnap the romper for diaper changing. you can get the free tutorial pdf here.
Further Edited.. Slightly bigger pattern for chubbier babies.. see this post
Amazing, and gorgeous, Jaya!!
ReplyDeleteWhat patience you have to take pictures stage by stage and make this tutorial so useful for strangers like me! I love your methodical approach.
Kudos to you!
p.s: Amy is very lucky and terribly cute :)
These are super cute!! I'm going to attempt to modify your tutorial so I can use it to recondition an old t-shirt. If I'm successful, I will post pics and link to you!
ReplyDeleteThanks for the great ideas!!!
This is so cute! I'm almost done with mine. How would you cut it on the fold, though?
ReplyDeletethanks Mrs. Bianca, good idea to use a Tshirt. Since T shirts are stretchy, i think you can get away with no extra fabric for gathering ..I beleive there are free tutorials on how to make a romper from a Tshirt.
ReplyDeleteRebecca, cut on the fold means fold the yardage in half and place the pattern so that the straight edge of the pattern(here, the outer edge of the pattern) follows the fold.
Thank you for this blog....I stumbled onto your blog and love it! I have a 11month old baby boy, I'm going to sew up a boys romper and share the pictures later!
ReplyDeletethanks for commenting Alison, hope it turned out cute!
Delete