Tuesday, January 12, 2010

Very easy bag

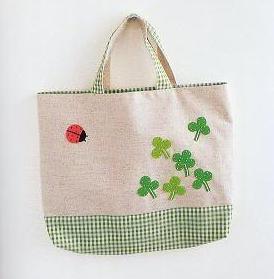
I made a bag last month. N1 wanted to buy a bag to take the big drawing book to art class. None of her other bags would fit this long book. like any self-respectng sewist, I decided to make her one. This is a simple book bag, just a long piece of fabric..


Easy instructions:
put book on  fabric , 2" from edge. Fold so book is enclosed and fold is the bottom of the bag. Leave 1/2" at sides and 2" at top. cut fabric. Take book out. Fold up, sewn on two sides, hem the top, attach straps. takes 15 minutes to make.

For those who like pictures, a tutorial can be found at ehow here , screenshot:

I took the prettiest pink i had in my fabric stash and made a simple appliq to embellish... a square of polkadot babypink, a length of satin ribbon for the N. just sewed on with a regular straight stitch. I pulled off a few threads from the square to give it a frayed look. Just big enough for her art book and color pencils case.

If you attach the straps lower, the top of the bag will naturally fall into the bag and make a closed look, because there is extra fabric at the top.

Tuesday, January 5, 2010

sewing a bag

I made a tote bag. It is so easy, the easiest thing to sew... just sew 3 sides, box the corners, and then attach straps... like this
I bought the really pretty rose print canvas fabric from Daiso. it was a fat quarter and cost 7QR. the straps were from the same shop, thick webbing. I reinforced the bottom with iron-on interfacing and made the bag...

Turns out, I hate the bag... it is too wide and floppy; I think I should have used batting or something heavier. This big bag is not my style , though it is a really nice print. The problem is, I boxed the corners too big and so the bottom fabric cannot be seen at all. I had cut out the corners before bringing it right side out, so I did not notice this until it was too late… now I am thinking about giving it a deconstruction.
I browsed a lot of tote bag tutorials and this one caught my eye at HGTV . This was sort of like I wanted it, but it does not say where to put the handles. I love the look of the bag, but this looks too sophisticated. Will I be able to make it?
Then I found another tute at skip to my lou. Here everything had step by step photos and was the clearest tute I have ever seen. So I am going to un-sew all the seams in this bag and make a smaller tote.
Lets see how that goes.

Tuesday, December 1, 2009

how to make a circle skirt

I saw the tutorial at this mama makes stuff for a circle skirt and thought, my mom makes it so easily without a pattern!

so here are instructions to make the simple circle skirt for you or anyone else, its that simple.


measure your waist. write this down as W=_

measure how long you want the skirt to be. write this down, L=_

fold your fabric from selvedge to selvedge. fold it down to make a squareish shape.

now draw two circle shapes on the fabric like this:

oh wait, dont just draw them, you have to think a bit first.
the small circle is a bit larger than your W. (little math lesson here, circle perimeter is Rx2x3.14 so R should be around W/6. so divide the W by 6, and round up. say, if my waist were 24inches(oh, the possibilities), we do 24/6=4. but we need to add a bit to this because i would want to pull the skirt over my hip...and i dont want a zip.
so i add 0.5 to that, so R=4.5 inches.
if W=20 (like my baby amy, right now eating pickled onions .........oh no! be right back!)

err where were we? ah yes, w=20. so 20/6 will be... wait, let me get the calculator on this..ok,we get 3.33, so we round it up to R=3.5.easy peasy. hmm i hope you think so. you still with me on this?
0k. mark your fabric with a chalk or disappearing pen. if you dont know how to mark a circle shape, the easiest way is to tie a lenght of string(or yarn, or thread, or ribbon) around your marker and FROM THE MARKER, measure the distance and make a mark on the thread. hold this point to the folded corner of fabric and mark the circle with the marker end.
first, mark the waistline. for another way to do this, check the picture and tutorial at this link.
next, use W+R as the marking length and mark the hemline.
now cut through all layers to make a donut-shaped circle skirt.
attach elastic to the waistline.
finishing the hem:
with doublefold bias tape
with ribbon like in the famous lazy days skirt from oliver+s
with lace, using the same technique


Monday, November 16, 2009

a shirred dress for karen


this is a simple dress to make if you have elastic thread and a machine that cooperates..mine tried to kill the elastic thread in 20 different ways.


I have been trying to make this dress from the first time I saw this on portabellopixie, when everyone and their sisters started raving about shirring. I tried and tried.... no, my elastic thread got bunched up and knotted and who knows how it managed to break off, not a bit of proper shirring was done. I had to rip out lots of stitches I made in the hope that the thread will come even after running some time..I surfed the net hoping for an answer, I changed the tension, I turned every dial on my stubborn machine. , then left my shirring plans and went and made some other stuff.

One fine day, the planets aligned, the machine suddenly discovered the fine art of cooperation, I was able to make this dress. then the planets went their separate ways :) so I havent been able to shir another stitch yet. well, I'll always have my trusty 1/4 inch elastic.

Some excellent tutorial links for making this dress and cute fotos can be found at MADE
another detailed tutorial from Weekend Sewing by Heather Ross is available at Etsy storque.


if you'd loke a visual reference, there's a video from craftzine.
p.s. this was a dress I made in the beginning of summer, now it is almost winter here. that says a lot about my blogging habits, alle? I will try to post some more of my past work in the coming days..

Sunday, May 31, 2009

free skirt patterns for little girls

1. very easy oliver+s lazy days skirt takes only very little amount of fabric..
2. aline skirt with ruffle.
3. half circle skirt. so girl-y.
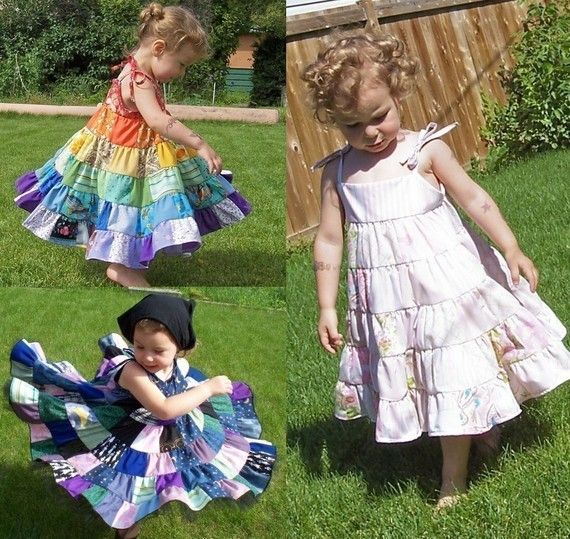
4. my favourite easy twirl skirt. very simple, very cute!
5. adorable drop waist twirl skirt has two layers too..
6. twirly whirly apron skirty ..
7. ruffled tiers xox skirt the picture is misleading, they give you the pattern to adapt ..
just use little girls measurements:).this site has other free skirt patterns too.
8. reversible wraparound skirt this is a basic circle skirt,
9. a skirt made from men's ties if you like that sort of thing.
10. organza-tulle ballerina petalskirt
11. really full pettiskirts from martha stewart
12. tanya whelan's flirty skirts absolute eye candy ! those fabrics!!

and  another,
13. justtutes patchwork circle skirt
looks like a lot of work, but isn't. look around that site, lots of tutes.

And that's a baker's dozen of amazingly easy skirts for my girls (and yours) this summer. 

Friday, May 29, 2009

romper pattern altered for heavier babies

hi, just remembered that amy is smaller than most babies of the same age:) she is 16.5lb at 9months, so if your babies are chubbier, they need more ease at the underarms. so you have to add one more inch in all the pattern pieces, like this:
this is just the rough sketch, but you know where to add the inch now, right? and i have not added seam allowances, obviously.

Monday, May 25, 2009

amy's summer romper tutorial

Little Amy started crawling, so I wanted to make something that would cover her diaper without being tight at her waist. It is summer here and she gets very hot, I did not want to make pants or onesie dresses that would make her sweat. While netsurfing, I saw this picture at babybean vintage, and thought ”wow! I can do that!” so I decided to make something like that.. I traced a denim romper for the chest and bum dimensions, and found that the back is bigger than the front. So I made a newspaper pattern, stitched it out and guess what! It fits! I had so much fun making it, and I’ve been thinking about making a picture-tutorial for a long time now, so I made another romper and made a pictorial too.
So without more ado, here is the tute:
Amy's summer romper
This little playsuit is designed for the crawling age,6-12 months, with no snaps or buttons.
The romper ties at the shoulders for a cute vintage look . The bias tape finish makes it very easy to sew. And guess what? It only takes half yard of fabric!


Requirements:
half yard of a cute lightweight fabric (44’’wide)
two yards of matching or contrasting bias tape.
(option 2) ½ yard of ¼” elastic for legs
(option 3) Contrasting material for ruffles at leg
(option 4) half yard snap tape.


Instructions:
Step 1: Draw the pattern. The darkblue line shows stitching lines, the thinner light blue lines show cutting lines. As you can see, I gave ½ inch seam allowance.


The easy instructions are as follows:
1. cut out the pattern pieces,
(on the fold or cut 2 each.)
2. sew the middles together.
3. sew the sides.
4. finish the legs.,
5.sew the crotch seam.
6. gather and bias tape the neckline.
7.gather the armscyce, then finish the edge with bias tape, leaving enough to tie at the shoulders.

 DONE!


for those who need more detail, I have uploaded the full  detailed step-by-step instructions with photos at burdastyle here for the BLUE romper and here for the LILAC romper.


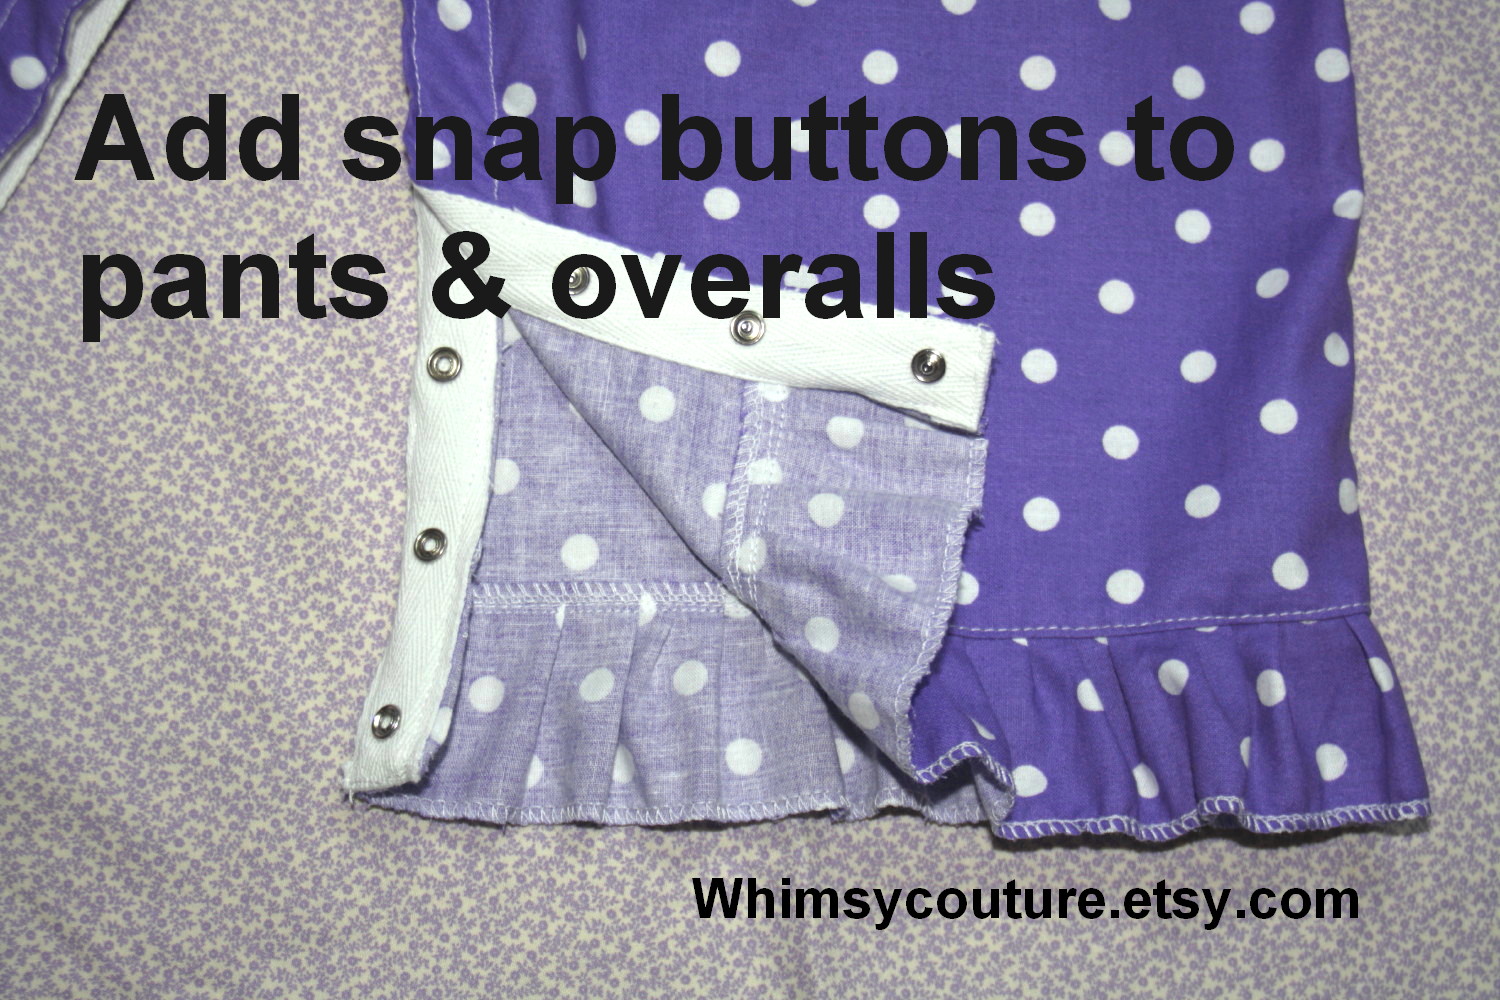
Edited to add: whimsycouture has a very easy tutorial for adding snap tape at the crotch seam, so you can unsnap the romper for diaper changing. you can get the free tutorial pdf  here.

Further Edited.. Slightly bigger pattern for chubbier babies.. see this post

LinkWithin

Related Posts Plugin for WordPress, Blogger...