Little Amy started crawling, so I wanted to make something that would cover her diaper without being tight at her waist. It is summer here and she gets very hot, I did not want to make pants or onesie dresses that would make her sweat. While netsurfing, I saw
this picture at babybean vintage, and thought ”wow! I can do that!” so I decided to make something like that.. I traced a denim romper for the chest and bum dimensions, and found that the back is bigger than the front. So I made a newspaper pattern, stitched it out and guess what! It fits! I had so much fun making it, and I’ve been thinking about making a picture-tutorial for a long time now, so I made another romper and made a pictorial too.
So without more ado, here is the tute:
Amy's summer romperThis little playsuit is designed for the crawling age,6-12 months, with no snaps or buttons.
The romper ties at the shoulders for a cute vintage look . The bias tape finish makes it very easy to sew. And guess what? It only takes half yard of fabric!
 Requirements:
half yard of a cute lightweight fabric (44’’wide)
two yards of matching or contrasting bias tape.
(option 2) ½ yard of ¼” elastic for legs
(option 3) Contrasting material for ruffles at leg
(option 4) half yard snap tape.Instructions:
Step 1: Draw the pattern. The darkblue line shows stitching lines, the thinner light blue lines show cutting lines. As you can see, I gave ½ inch seam allowance.
The easy instructions are as follows:
1. cut out the pattern pieces,
(on the fold or cut 2 each.)
2. sew the middles together.
3. sew the sides.
4. finish the legs.,
5.sew the crotch seam.
6. gather and bias tape the neckline.
7.gather the armscyce, then finish the edge with bias tape, leaving enough to tie at the shoulders.
DONE!

for those who need more detail, I have uploaded the full detailed step-by-step instructions with photos at burdastyle
here for the BLUE romper and
here for the LILAC romper.
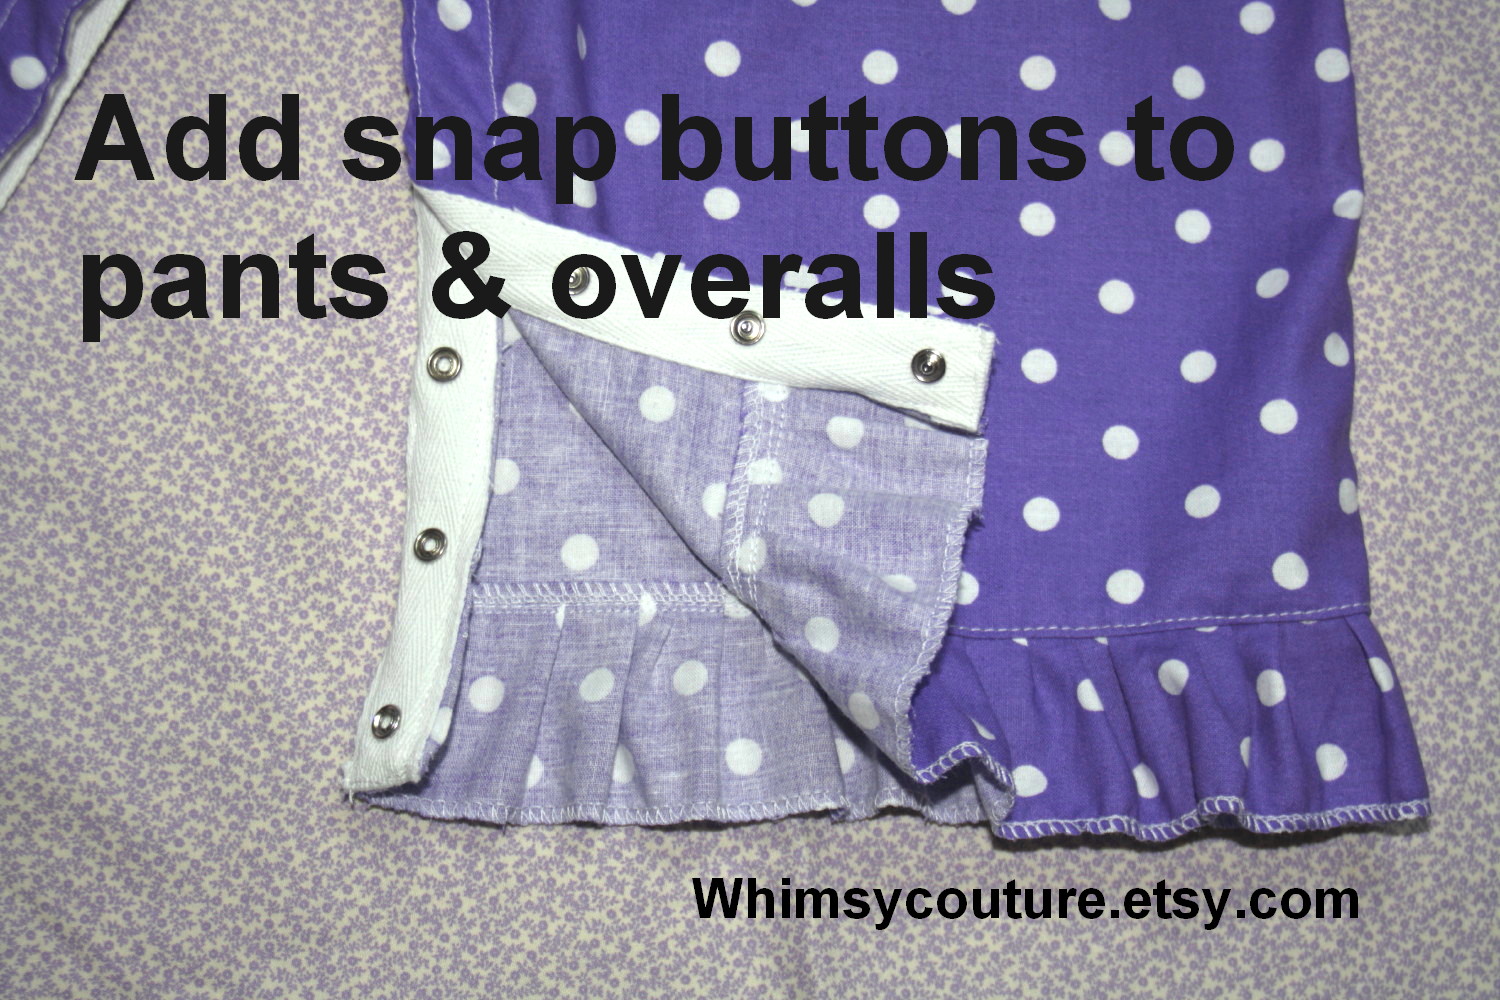
 Edited to add: whimsycouture has a very easy tutorial for adding snap tape at the crotch seam, so you can unsnap the romper for diaper changing. you can get the free tutorial pdf here.Further Edited.. Slightly bigger pattern for chubbier babies.. see this post